Getting Started with an NDI Webcam
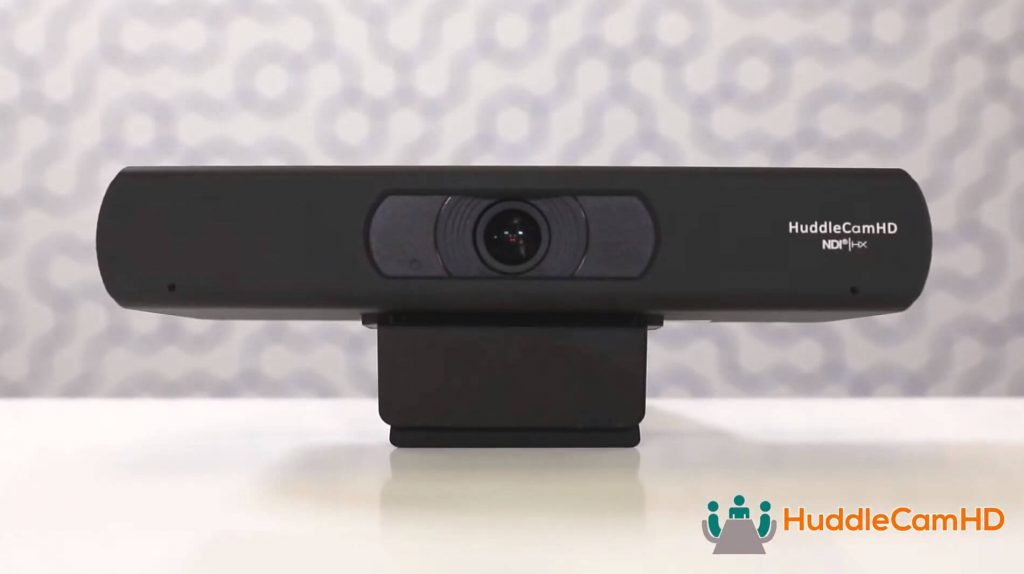
When you first receive your HuddleCam HD Pro IP, read through the included Quick Start Guide. This quick start guide is also available for download at HuddleCamHD.com/resource-library/. When you first open the box you will find the camera, a quick start guide, a power supply, an IR remote control, and two AAA batteries.
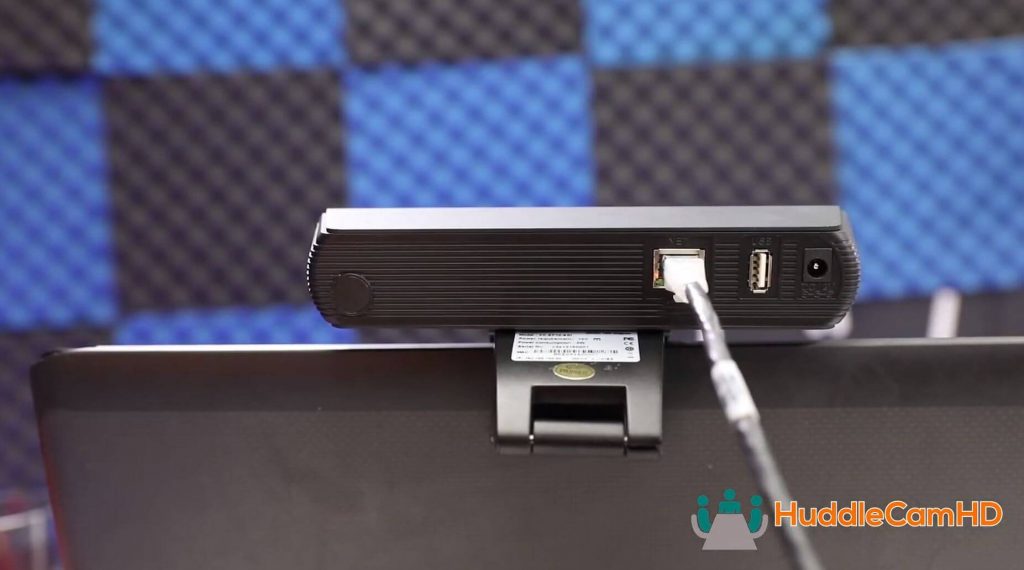
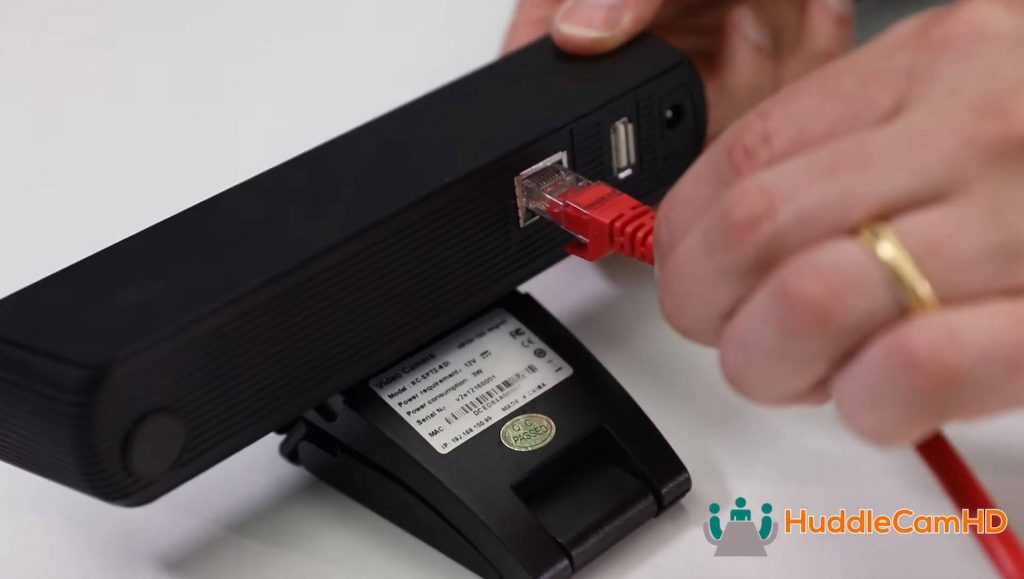
Start by opening up the back of your IR remote control and insert your AAA batteries. Next you can plug your camera into the network.
Note: This camera can be powered with a PoE capable network switch, PoE Injector or using the included power supply. It is not advised to use more than one power source at the same time. If you are unsure if the network switch you are connecting to provides power simply plug into the network to test it. If your camera turns on and you see the ethernet lights blinking you do not need to use the included power supply.
Setup webcam
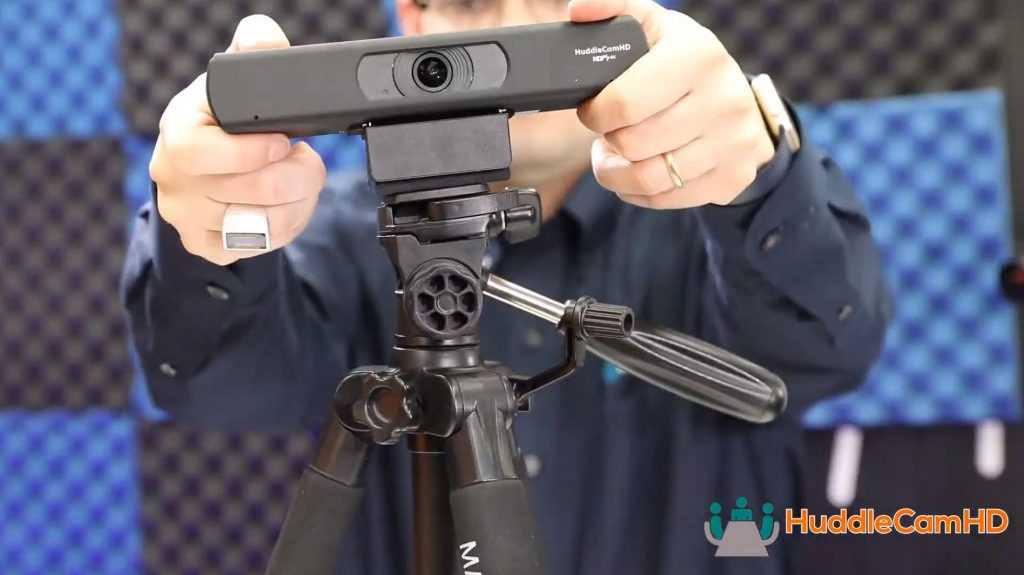
Next you can mount your camera to a tripod or wall mount using the quarter-twenty connection port on the bottom of the camera to securely fasten the camera down, or you can use the monitor clamp to securely attach the camera to any monitor or LCD display.
Once your camera is connected to your network and set up in an ideal location, it’s time to find the camera on your network. You can download the HuddleCamHD Pro IP camera IP address settings tool at HuddleCamHD.com/downloads. The camera ships with the default static IP address of 192.168.100.99. You can set this camera to DHCP or a different static IP address with the IP address settings tool available at huddlecamhd.com/downloads. You can open the IP address settings tool by clicking the upgrade.exe file on windows or the upgrade icon on a mac. Click the search button to find your camera. The default IP address is 192.168.100.99. Right click the camera in this list and select config. Here you can set the camera to the static IP address of your choice or DHCP if desired.
Note: If you are assigning a new static IP, do not forget to also assign a new default gateway. For example, if you set your camera to IP address 192.168.111.21 also change the gateway to 192.168.111.1 (Gateway address is determined by your networks configuration)
Note: If you do not know what IP range your local area network is using, you can reference the IP address shown in the search tab of the IP address settings tool. Find your computer’s IP address in this list and use that IP address to determine the IP range of your network.

It’s now time to use your camera with a video conferencing, production or recording software application. Start by downloading the latest version of NDI tools for your Mac or PC computer available at NDI.tv.
This set of tools is constantly being improved, and new tools are being added all of the time. NDI Studio Monitor is a tool you can use for remote viewing and controlling the EPTZ functionality of your camera. NDI Virtual Input is a tool you can use to connect your NDI camera to any software that uses a webcam as a video, or video and audio, source such as Google Hangouts, GoToMeeting, Skype, Zoom and more.
Note: Some NDI tools are only available on Windows. Please check NDI.tv for the latest list of NDI tools available for Mac, PC and Linux based computers.
There are hundreds of applications that support NDI video integrations natively. If you are unsure if the video application you want supports NDI you can check out our latest list at HuddleCamHD.com/ndi-webcam.
NDI Tools
Once you have the latest NDI Tools installed on your computer open the NDI Studio Monitor application. Assuming that your computer and camera are on the same local area network, the application should automatically find any NDI sources currently available on your network. Right click on the application and select “HuddleCamHD Camera”. On the right hand side of NDI studio monitor you will see controls for digital pan, tilt and zoom. Go ahead and make sure you have remote EPTZ camera controls.
Note: The camera will not offer any pan or tilt capabilities until you have first zoomed in
You can now use your included IR remote to control your camera. You can use the slow or fast Zoom in and out buttons on your IR remote control to zoom the camera at different speeds. Once the camera has been zoomed in you can pan and tilt using the up / down / left / right directional pad buttons.
You can set a EPTZ camera preset by moving to a specific location and pressing the “preset” button on the IR remote and choosing a number to save that unique preset to. You can recall this preset by simply pressing the number you have chosen. In this way, you can set up multiple EPTZ camera presets and recall them with your IR remote control or the HuddleCamHD software.
Next you should familiarize yourself with the OSD (On Screen Display) menu of your camera. It is here where you can reach all of the fine tune settings that your camera is capable o.
You can view the OSD menu by pressing the “menu” button on your IR remote control. Here you can adjust exposure settings to fine tune shutter speed, aperture, gain, and digital range controls. Next you can adjust the color settings. One useful white balance mode is the “one push” feature you can use to quickly have the camera calculate your rooms white balance. If you happen to know the color temperature of the lighting in your space you can use the “VAR” mode to select a color temperature for your cameras white balancing between 2500 kelvin and 8000. You can also fine tune your camera’s image settings, the sharpness and even flip the image vertically or horizontally.
The Settings area is where you can fine tune your camera’s EPTZ and Auto-Framing settings. By default, EPTZ is set to ON and the zoom limit is 1x-3x. Check out the chart below to see the resolutions you will be working with at various EPTZ zoom levels.
| HC-EPTZ-USB & HC-EPTZ-NDI | ||||||
| Zoom Level | Pixel Width | Pixel Height | HFOV | VFOV | EPan Range | ETilt Range |
| 1x | 3840 | 2160 | 108 | 60.75 | 0 | 0 |
| 2x | 1920 | 1080 | 54 | 30.375 | ± 27 | ± 15 |
| 3x | 1280 | 720 | 36 | 20.25 | ± 36 | ± 20 |
| 4x | 960 | 540 | 27 | 15.1875 | ± 41 | ± 23 |
| 5x | 768 | 432 | 21.6 | 12.15 | ± 43 | ± 24 |
| 6x | 640 | 360 | 18 | 10.125 | ± 45 | ± 25 |
| 7x | 549 | 309 | 15.4 | 8.7 | ± 46 | ± 26 |
| 8x | 480 | 270 | 13.5 | 7.6 | ± 47 | ± 27 |
You have the following options for limiting the EPTZ zoom limits.
- 1x-3x
- 1x-4x
- 1x-8x
- 2x-4x
- 2x-8x
- 3x-8x
Depending on your project you may want to limit the zoom ranges to maintain specific video resolutions from your camera.
You can always set your camera back to default settings using the IR shortcut [*] + [#] + [6]. More useful IR shortcuts can be found on the second page of the camera data sheet.
Auto-framing for the camera is set to OFF by default. In the settings area of the OSD menu you can turn this feature ON. When you are first setting this camera up for auto-framing, use the Demo mode so that you can see the logic the camera is using to automatically frame your subject. During demo mode, you will see red boxes around objects that it considers a face. This is an easy way to quickly see the faces the camera detects in the room for auto-framing.
Best practices for setting up the camera for auto-framing include:
- Make sure your participants are in a well lit area
- A solid background, behind participants, can improve performance
- Subjects must sit at a sufficient distance from the camera
(We recommend a minimum distance of 2.3 feet / 0.7 meters)
If you are ready to turn on Auto-Framing, you can do so in the settings area of the OSD menu.
 Finally, consider downloading the browser-based IP camera control panels that you can customize with a little HTML knowledge. You can actually use these control panels to add a PTZ camera controller directly in OBS or any web-browser. You can download the tools at HuddleCamHD.com/downloads. Once you unzip the folder and put them on to your computer you can open them into any web-browser. Using OBS for example, you can copy and paste the URL to these files into the OBS docks feature. To do this click, View, docks, and custom browser docks. This is where you can name your dock and enter the URL. Once you have done this you can drag your dock into multiple locations inside of the OBS interface. You can click the settings option to enter your camera’s IP address and control your camera.
If you have any issues during the setup process of your HuddleCamHD EPTZ camera, please contact support at the phone number listed on the HuddleCamHD website or submit a ticket at help.huddlecamhd.com.